
For a food photographer, the #1 priority is to make the dish look its absolute best: popping out of the frame and just begging to be eaten. To achieve this takes countless hours of hard work and preparation, and it’s by no means an easy task to get that perfect shot every time.
With food photography you always need to be on the look out for a new and creative solution to the task of displaying food. How can you add that extra element that will make your food photos stand out from the rest?
If you’re just starting out, you’ve probably spent long hours studying the photos of your favorite food photographers, wondering how they manage to achieve such great results each time. Of course, the truthful answer is that they will simply have years of practice, and there really are no shortcuts.
With that said though, there are several basic elements of food photography that beginner’s often overlook: concentrating instead on either the food itself, or going overboard in the post-processing stage in the hope of making their photos look better.
While the food is of course always of the utmost importance, trying to save a mediocre image simply by adding a bunch of filters in Lightroom is only going to end in disappointment. If your shots are severely lacking when viewed on the LCD, then no amount of digital trickery later will save them. Conversely, if they already look good in camera then the editing stage will just be the icing on the cake. This article will show you how to get things looking great right from the start.
#1 Let There Be Light
Whatever item you are shooting, as a food photographer it’s your job to search out the best possible light to photograph it in.
Sometimes you might get lucky and find a situation where the light is already fantastic, so you just need to position your dish and shoot away. Recognizing a good lighting situation and knowing what works is already half the job done. But the pros know how to create these lighting conditions themselves each and every time. No excuses. You’ll need to learn to do this too if you’re going to succeed as a food photographer.
Indeed, lighting is one of the most important ingredients of an appetizing food shot. It can never be overlooked. However, good lighting doesn’t necessarily mean adding a crazy amount of lights, like an advertising photographer might do. Sometimes the simplest lighting can produce the best results: whether it’s a single studio strobe or even just making the daylight work for you by adding reflectors. The important thing is to find just the right light source to make the food look its most scrumptious while also popping out of the plate.
Often a backlight can add real interest to a shot, bringing an otherwise flat and unappealing shot to life. Try contrasting the hard light of a bare flash-head behind the subject with a soft box providing softer and more even light to fill in the foreground. This way you get the benefit of the atmospheric backlight while making sure that everything on the plate s isn’t lost in deep shadow.
For other food photography lighting ideas, check out our guide to the latest trends in food photography lighting.
#2 Prop it Up
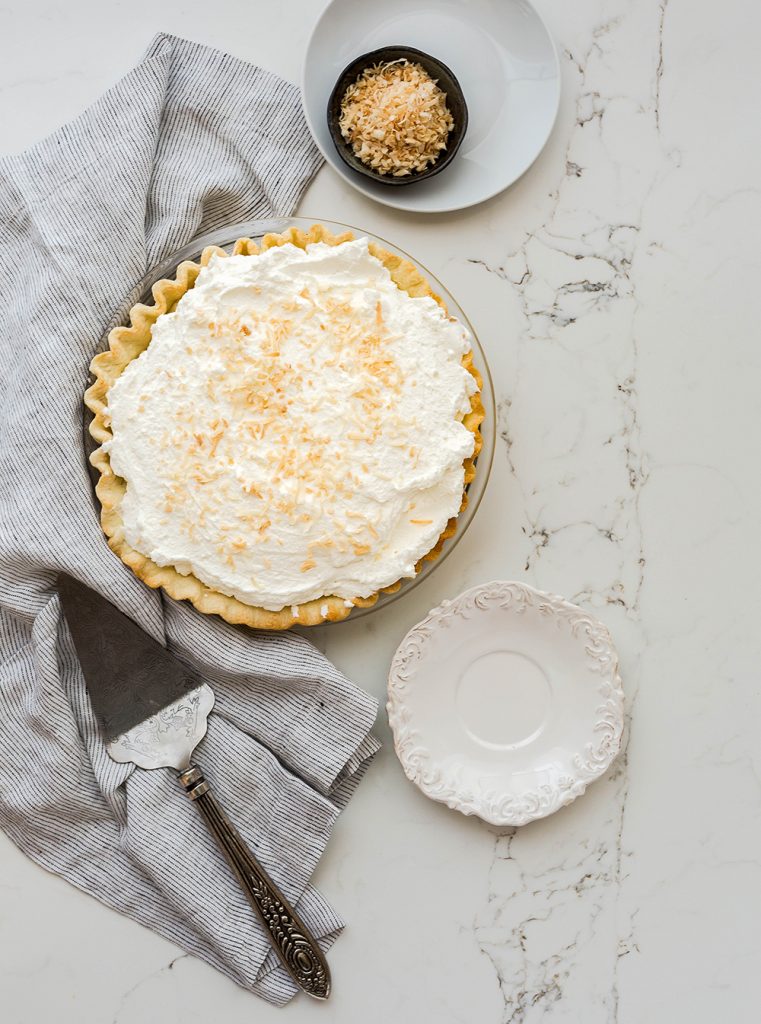
Adding a few simple props can add narrative and movement, turning a standard, uninspiring image into a highly appealing culinary scenario.
Often you get to a point where a shot is looking pretty good, but still it feels like something is missing. You’re just not sure exactly what. In these cases the answer is usually to add a prop of some kind.
A nice little prop can make even the simplest dish come alive, adding a narrative element to the shot. For example, served in a vintage cup instead of in your regular Ikea mug, a simple cup of coffee can start to tell an intriguing story. So the next time your shooting a straight-on, regular shot of a dish on it’s own, but it isn’t quite coming together, try including some small props.
A word of warning though: props can easily be overdone, making for a cluttered and messy shot. Never lose sight of the fact that the food on the plate is the true hero. Props should enhance the impact of the dish, not distract from it. Using props can add depth and drama to a shot, but they should never be allowed to overpower the food itself.
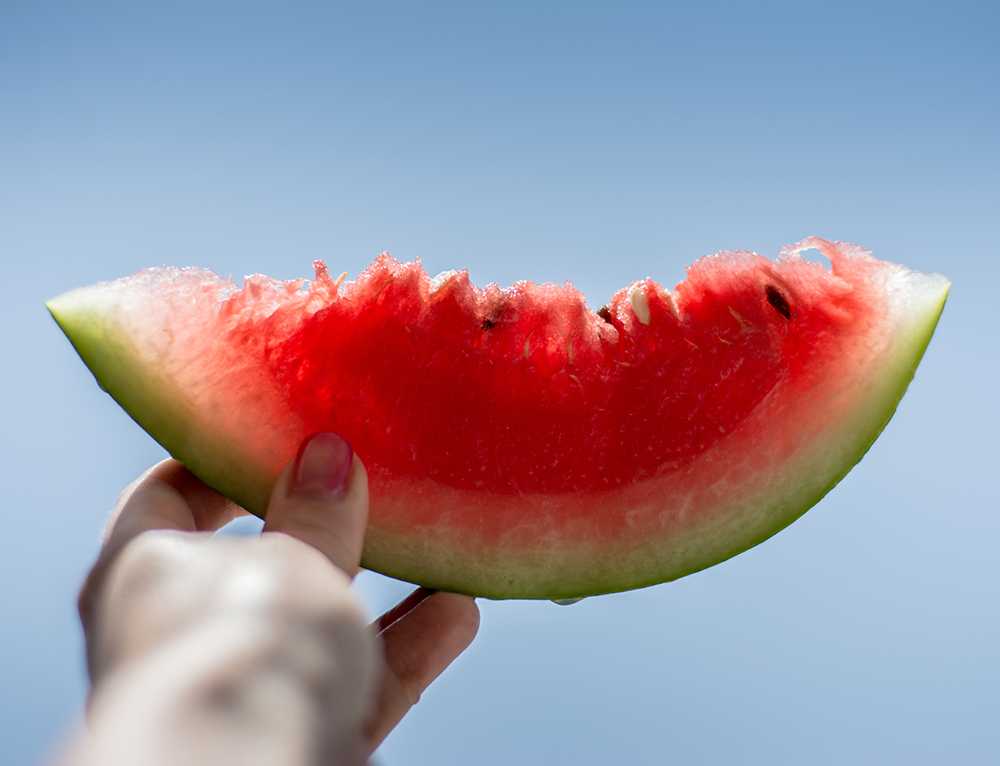
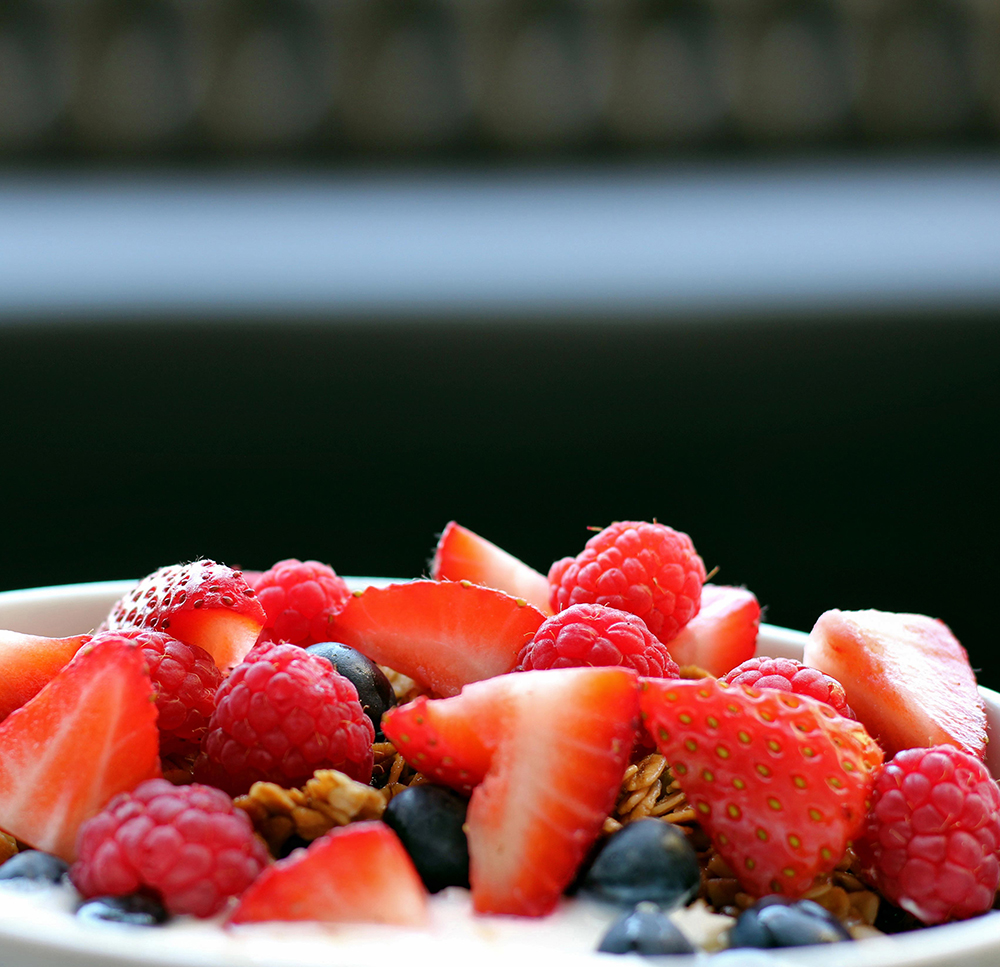
#3 Make a Beautiful Mess
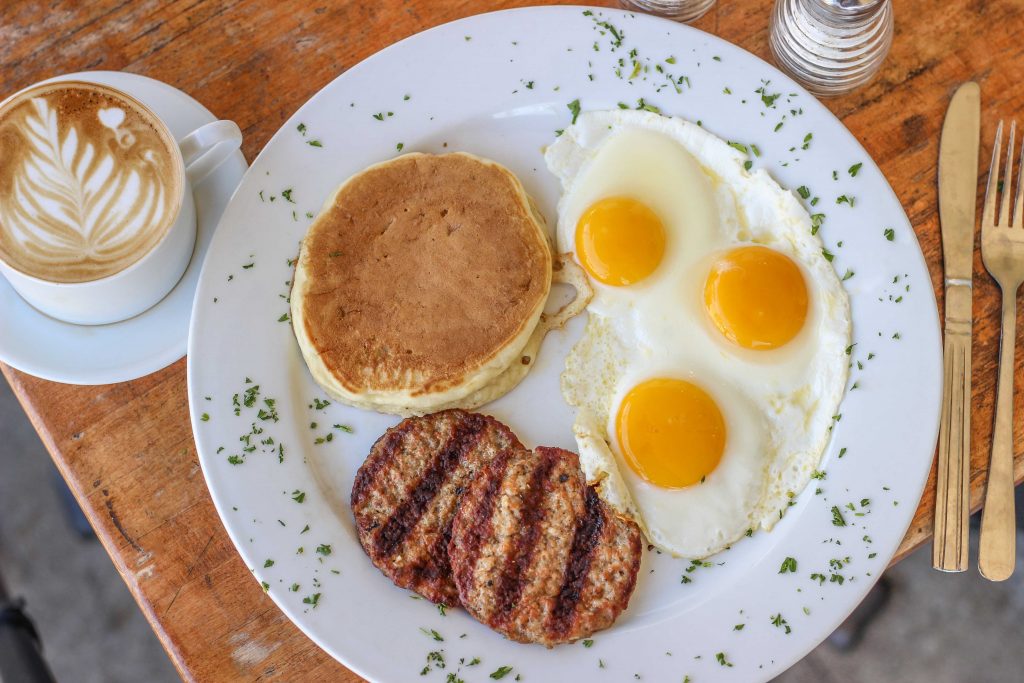
A light sprinkling of herbs helps to make this otherwise quite simple breakfast plate much more appetizing and visually exciting
Many food photographer’s follow the conventional wisdom that less is more, sticking to producing clean and uncluttered shots. Indeed, sometimes this really is the best solution. At others, though, unthinking minimalism will just lead to a dull and lifeless photo. Indeed, too much clean perfection can be boring.
Adding a little planned mess to a setup can give a sense of life to the food on the plate. Food that looks like it was produced in a laboratory is rarely appealing. Viewers want to feel the passion that went into creating that dish. And the human touch is rarely perfect. Try playing around with the food, “accidentally” leaving behind a trail of sauce, or selectively scattering a few cookie crumbs here and there. These little imperfections can really bring a shot to life and get the tastebuds watering.
Once again though, as with props, you should be careful not to overdo this technique. Sprinkle too many crumbs and ingredients around and things can quickly get out of hand, leading to a messy shot.
#4 Three Legs are Better than Two
A tripod will help to keep things sharp and shake-free
If you are just starting out, or you simply do not have steady hands, a tripod can mean the difference between a technically perfect prize-winning shot, and a useless reject. This might seem obvious, but it’s surprising the number of people who know the risks of camera-shake but continue shooting hand-held anyway.
No matter how much time you might spend perfecting your lighting skills, or dressing the shot with the perfect props and other subtle elements, all it takes is an unfortunate bit of blur and all your hard work will have been for nothing. Using a good quality tripod will ensure that this won’t happen to you.
With tripods you pretty much get what you pay for though, so don’t be tempted to skimp on this element. A good tripod might cost a few hundred dollars, but it will last a long time and repay the investment. A cheap tripod will likely fall apart after just a few months, and in the meantime might turn out to be more of a hassle than a help anyway.
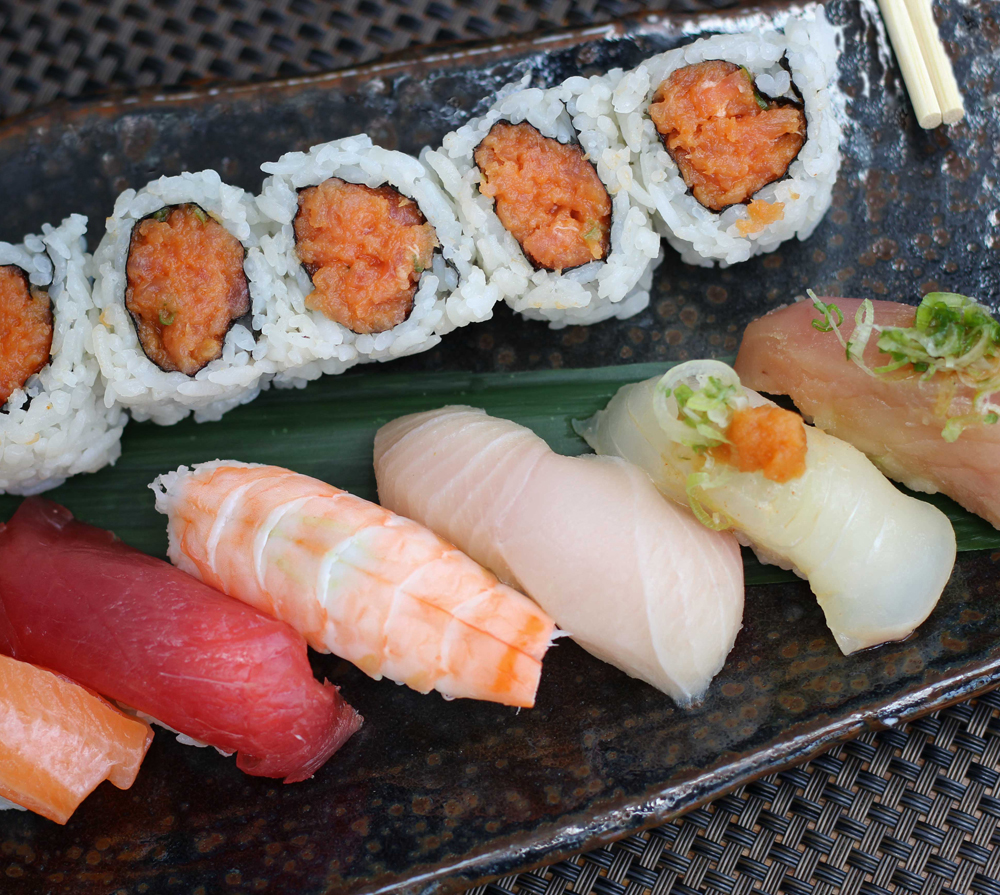
#5 Work the Angles
Although shooting from above can often produce great results, sometimes experimenting with a different angle can make for a more interesting and original shot
Although, on the surface, it might appear that food photography and architectural photography don’t have a great deal in common, in reality they are both about displaying human creations from the most flattering angle possible.
As a food photographer it can be all too easy to get into the habit of setting up a shot and then just shooting from your regular standing viewing position above the dish. A simple overhead viewpoint can often be the best solution, but by no means always. Try playing around, varying your position and considering other options. Even a very simple dish can become a thing of real beauty when seen from a different angle.
When just beginning as a food photographer, it can be beneficial to shoot multiple shots of the same dish from all possible angles, allowing you to compare the results later. This will help you develop as a photographer. You can always delete the ones you don’t like anyway.
#6 Stay Fresh
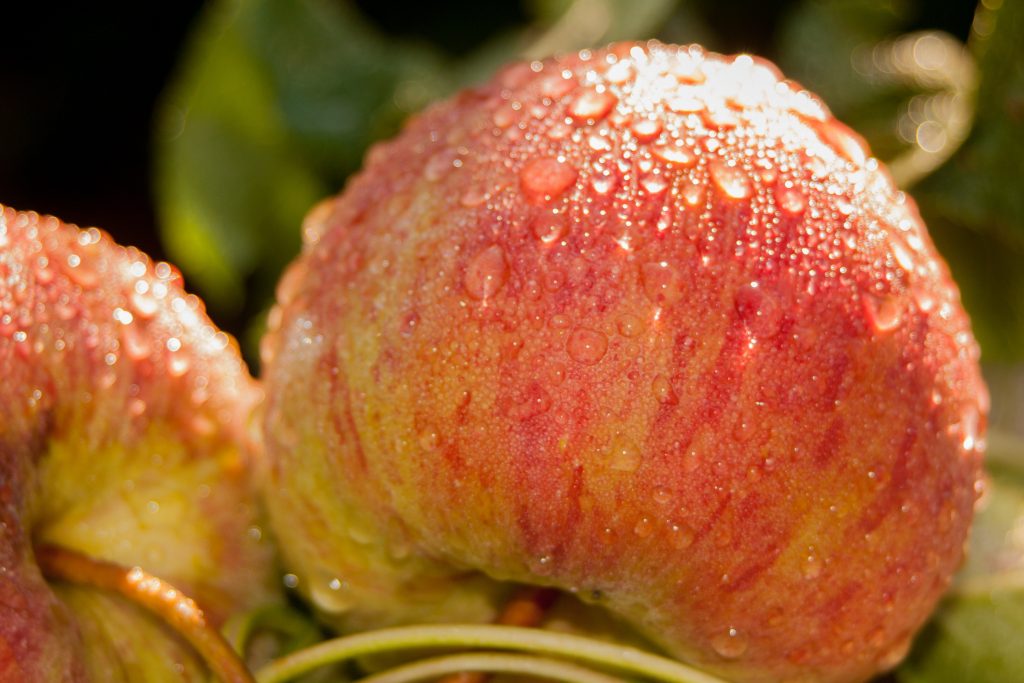
Even if shot in a studio under artificial lights, with the addition of a some water droplets these apples look so fresh you’d imagine they are still hanging on the tree
No one is going salivate over shots of dried out old meat, wilted salads or lifeless fruit. While you should always start with the best possible dishes and ingredients, the reality is that even the tastiest real-life food doesn’t always look as great as we imagine it should.
What’s more, even if it does look good to the naked eye, this doesn’t necessarily mean it’ll look quite so appetizing in a photo. At least not without a helping hand.
Get your steaks glistening by carefully painting a little oil on them. Or mist some oil over salads to bring them back to life. Similarly, spraying fruits such as apples or grapes with water droplets will give them that just-picked-from-the-orchard look that is always so appealing.
Final Thoughts
If you’re just starting out as a food photographer it can be frustrating to see work by the pros and not be able to get anywhere near the same level of quality in your shots. By following these basic tips you should be able to get a good few steps closer your goal.
What are Your Top Tips for a Beginner Food Photographer?
Have these tips been useful, or do you have some of your own food photography advice to share with readers? Let us know in the comments below!
This guest post was written by Sinchan Dey of www.yourownconsumer.com
0 Comments
2 Pingbacks