In the first of a series of posts on specific food styling tricks and techniques, we look at brushes. It doesn’t take a genius to work out that any serious food styling equipment list will include a variety of brushes. But did you know that their uses extend well beyond simple retouching? Read on to discover a bunch of other useful food styling tricks you can do with brushes.
Although you’re unlikely to find many professional food stylists with a 6-inch house-painting brush among their food styling gear, any food stylist worth their salt will undoubtedly pack an assorted selection of brushes each time they go on a shoot. These can vary considerably in shape, size and form. And most of them won’t even be brushes designed for food: a food stylist will use anything from paint brushes through to make-up and manicure brushes. Whatever gets the job done.
Brush techniques are an essential element of any food stylist’s arsenal, so grab yourself a handful of brushes and try out a few of these pro food styling tricks!
9 Food Styling Tricks with Brushes
#1 Touch Up Work
The most obvious food styling trick that’s done with brushes is simply touching up minor details on a dish to get it ready to shoot. Although many problems can easily be fixed in Photoshop later, it’s nearly always better to just get things looking the way you want them right from the outset. Having a good selection of different sized brushes to hand will mean that you are prepared to fix any minor defects or untidy spots on the food at the last minute before shooting.
#2 Cleaning
Again, another pretty obvious food styling trick that can be done with brushes is just using them to sweep dust, powder, hairs, or unwanted foodstuffs off plates, vessels or the background of the set.
#3 Spreading Ingredients
Just as you can use your brushes to remove unwanted substances and details from food, they can also be employed for adding extra ingredients and decorative elements to a setup. For example, wider brushes can be really handy for distributing small and fine items like seeds or spices and spreading them across food, a plate, or other surfaces in a controlled manner.
#4 Applying Semi-Liquids
It can be tricky to get semi-liquids such as syrups, oils or cream to go exactly where you want when you pour them directly onto a dish. A brush can help you maneuver thick and gloopy substances precisely where you need them to be, and in the right shape and form.
This is especially important because liquids and semi-liquids are highly reflective, so once the dish is under the lights it will be very apparent if a substance hasn’t been applied evenly. You need to be certain that the entire surface of the food is well-covered. For example, a brush can be very handy if you’re having difficulty getting a substance go deep into the nooks and crannies of large food items such as a chicken, turkey or a roast.
#5 Adding Shine
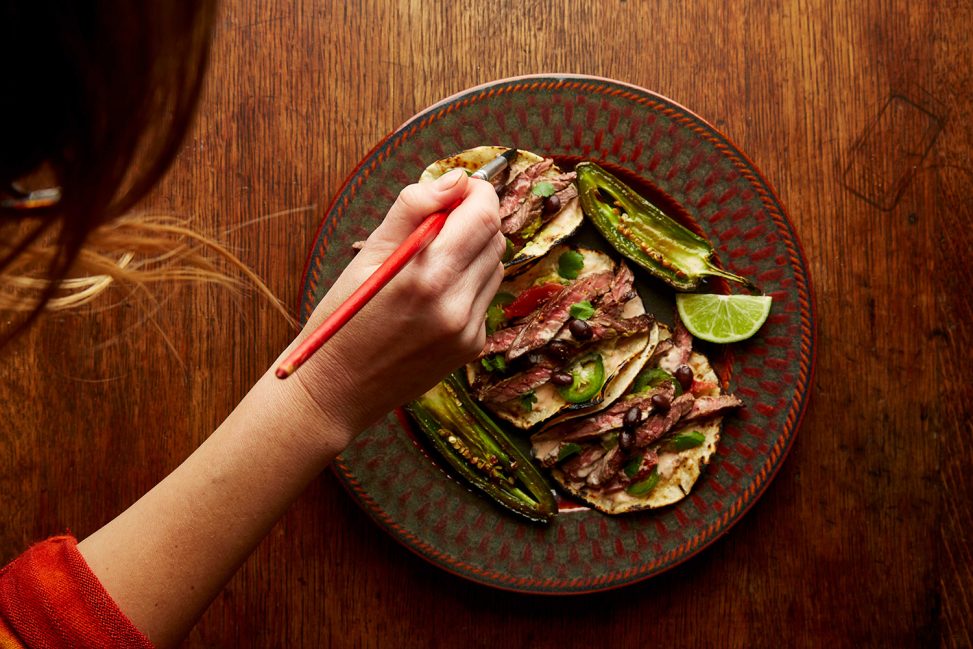
In some cases you’ll want to add shine to a dish that doesn’t call for any liquids or semi-liquids in the recipe. For example, to give meat a freshly-roasted appearance. One of the best ways of achieving this is by painting the food with oil or glycerin.
This food styling trick can also be used to add extra shine to plates and other serving vessels.
#6 Selective Dressing
On the other hand, sometimes you’ll want to avoid shine altogether. Or keep it contained to only certain areas of a dish, so as not to create ugly and distracting reflections.
As an example, by using a brush to paint a dressing onto a salad – rather than just tossing it on as you would if you were going to eat the salad – you can make sure that the dressing goes only where it’s wanted, and so doesn’t reflect light where it’s not wanted.
#7 Applying Texture
A big part of food styling involves playing with the contrasting textures and finishes of a dish’s various components. Using a brush, you can apply textures and stippling effects to semi-liquids and other soft, malleable substances.
#8 Painting
Sometimes the metaphorical cherry on the top of a dish actually takes the form of another decorative technique entirely, such as painting. If you’re skilled in your brushwork, you can create patterns on the food or background, or paint lettering on flat surfaces. The truly advanced stylist can even paint complex designs or visual likenesses of people and objects using foodstuffs. Give it a try!
#9 Browning/Coloring
Not everything that looks cooked to perfection actually is cooked to perfection. Or even necessarily cooked at all!
A common food styling trick is to apply molasses or another dark liquid to food using a brush in order to give it an appealing all-over golden-brown glow. Alternatively, apply more selectively for a toasted look along the edges.
This technique can of course work with other colors too. Although quite how appetizing the average person would find an electric-blue dish is open to debate.
As we’ve seen then, there’s a lot more to using brushes for food styling than just retouching minor defects. Indeed, in the hands of truly talented food stylist, a brush can be a powerful creative tool.
Have you tried some of these brush techniques in your own food photography and styling? Got other food styling tricks to share with readers? Let us know in the comments!
Leave a Reply