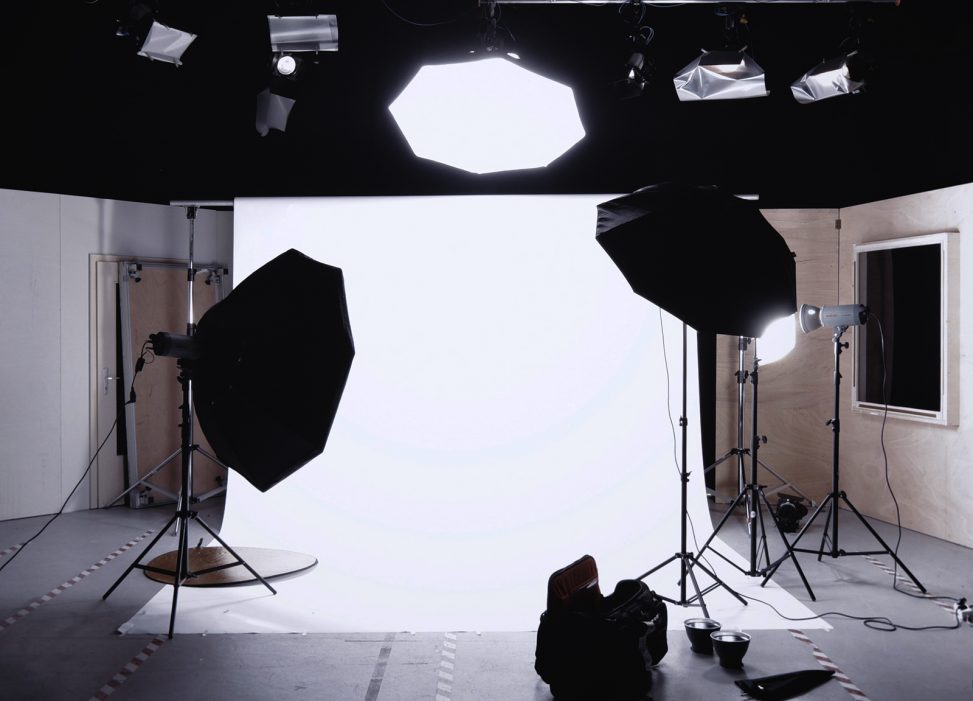
Food photography equipment is often a little more specialized than the general-purpose gear found in your average photo studio. Sure, there’s plenty of overlap with other styles of photography. But beyond the standard bits of photo and lighting gear, a professional food photographer’s equipment list will likely also include many odd and unconventional items.
Just as every carpenter must have the correct tools to hand if they are to be able practice their craft, a professional food photographer needs the right equipment to deal with any possible food photography scenario that might arise. Whether shooting in the studio or out on location, it’s a professional food photographer’s job to be prepared for every conceivable challenge. Failure to bring a piece of essential kit is not an excuse that will go down well with any client.
Sure, you might be the kind of photographer that prefers to shoot hand-held all the time, keeping things lively and spontaneous. That’s fine; whenever conditions will allow it. But what if bad lighting in a location makes it impossible to get an acceptably sharp image by shooting freehand?
You’re just going to tell the client that the shot can’t be done and send everybody home?
No, you’re going to use a tripod and finish the job.
That is, assuming you brought a tripod with you.
It’s always better to prepare for victory than for defeat. As a professional food photographer you will come across technical problems on a daily basis. It’s your job to solve them. In fact this is precisely what you are being paid for.
Clearly then, if you are to be taken seriously as a professional food photographer you will need to put together a comprehensive collection of food photography equipment, and carry it with you at all times.
But what to include? Opinions differ from person to person, and if you ask 5 different food photographers what they carry in their bag (or more likely in their car), you’ll probably get 5 very different lists of “essential” food photography equipment.
With so many options to choose from, and an inevitably limited budget to work with, you’ll need to consider each purchase carefully. Advice from other professionals is all well and good, but if their shooting style differs from your own, their recommendations will only be of limited help.
Here we’ve put together a long list of various commonly used food photography equipment items for different shooting situations. Use this as the basis for your own personalized arsenal of essential food photography equipment, and you’ll be prepared to handle anything!
The Definitive Food photography Equipment List
#1 Tripod
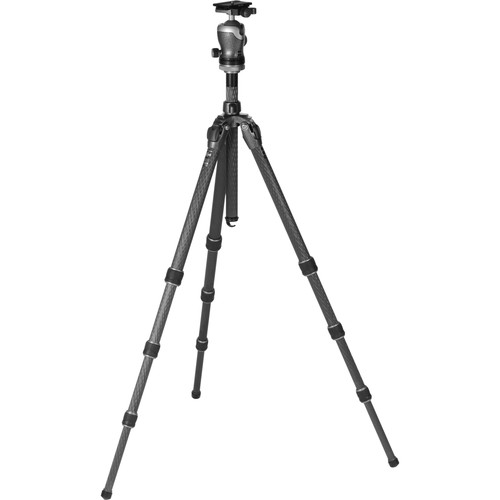
A top of the range Gitzo. The ultimate tripod for a professional food photographer
There are plenty of photographers who don’t like using tripods. Others who won’t shoot without one. Whatever your preference, though, there will probably be times when you have no choice but to use one. And a serious professional food photographer will have one available whenever needed.
Even if you are only likely to use a tripod very occasionally, skimping on this purchase is a false economy. Especially if it’s so unstable that it ends up sending your $1000 lens crashing to the floor.
A tripod that costs much less than $200 new is unlikely to withstand more than about six months of professional use before falling to pieces. It is always preferable to invest a little more money and get a better tripod that will last for years. Make sure that it has sturdy grips, strong legs, and tight, reliable locks. Also be sure to check the maximum load-baring capacity of the tripod before buying.
While super-lightweight carbon-fiber tripods can be very appealing, if you have a weighty camera-and-lens-combination, then you might actually be better off going for a tripod that is a little heavier, as this will provide greater stability. If in doubt, try out the tripod with your longest lens mounted on the camera. Does it feel totally solid? If not, keep looking.
For a long time Gitzo tripods were pretty much the best you could get. But they cost a fortune. Older, heavier Gitzo models can now be picked up second-hand for relatively little money compared to new ones. Alternatively, in recent years many more affordable Gitzo-style knock-offs have come on the market too, offering similar design and ease-of-use, but at a more affordable price than the latest Gitzo models. Some are very good quality. Others less so. You’ll need to do your homework.
Buy a Gitzo: $1,199.88
#2 Tripod Arm
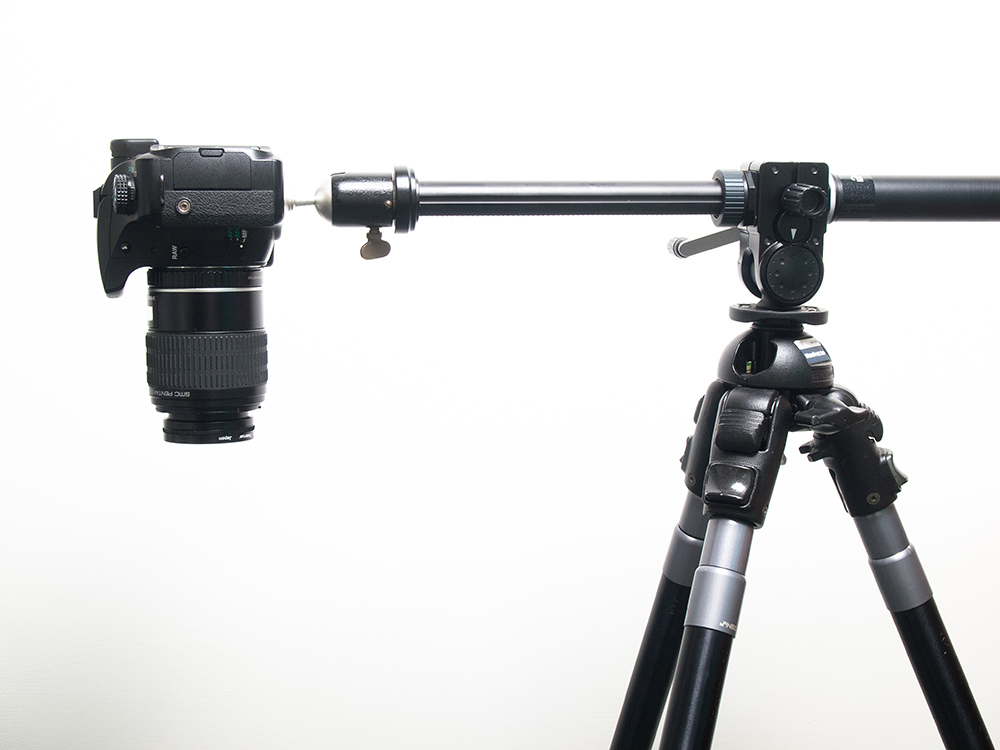
A tripod arm allows you to position your camera pointing directly down at the subject without need to battle with an uncooperative tripod ball-head
Overhead Shots are pretty much the standard in food photography. Instead of fussing around trying to position the ball-head of your tripod in such a way that it will look right down onto the subject of your shot, invest in a tripod arm and you can quickly and accurately position your camera directly over the food. High on any serious food photography equipment list.
#3 Folding Reflector
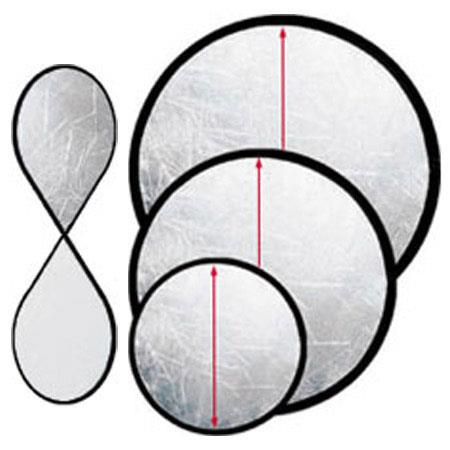
Folding reflectors come in various sizes
Cheap, portable, and very handy to have around. There’s no excuse for not having a portable reflector somewhere among your arsenal of food photography equipment. Use it to throw some general fill-light back in on a contrasty, back-lit subject, or bend and focus it upon a specific area of the shot to pull up extra detail.
Unlike with electronic gear such as strobe lighting, with reflectors there’s very little difference in quality between a big name brand and an anonymous Chinese-made clone.
Buy : $28.95
#4 Viewing Monitor
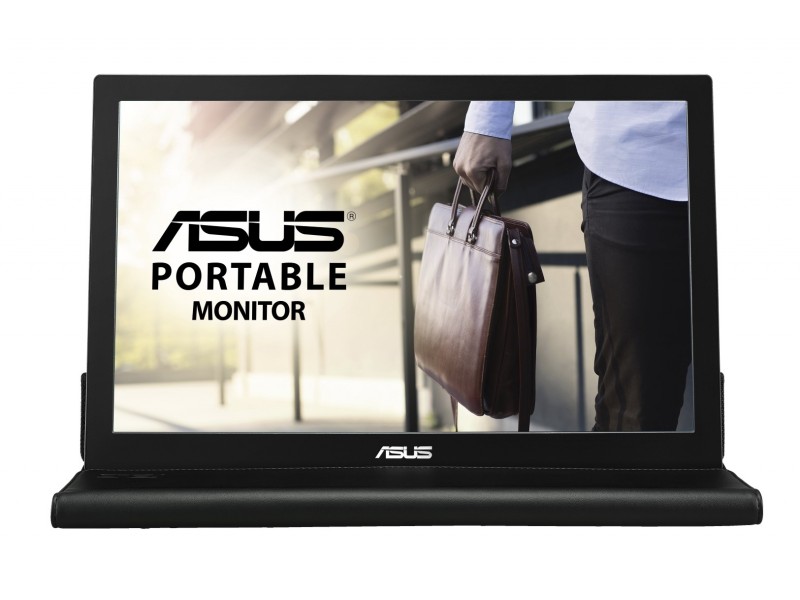
A separate monitor will permit team members and clients to view your photos in greater detail, leaving you free to shoot in peace
With food photography, it really is all in the details. And you’re not going to see much of that detail if you’re just checking your shots on the back of the camera as you go. Viewing your images on a larger screen will alert you to any problems while there’s still time to fix them in the real world: i.e. without the need for too much retouching.
Also, by shooting tethered to a monitor or laptop via USB cable, you’ll avoid periodically having clients, stylist, assistants and various other hangers-on crowding around you to get a look at the LCD while you’re trying to work.
On big budget shoots, a wall mounted monitor will often be set up for the client to view your images as you shoot them. But even on a smaller budget production, or out on location, viewing is still possible via a smaller monitor or tablet.
Ideally though, you’ll be tethered to a laptop computer running Phase One’s Capture One software or Adobe’s Lightroom. This way, with a dedicated assistant operator, you can immediately tweak, grade and crop images for layouts as you shoot. What’s more, clients can be asked to view and approve shots directly on set: therefore avoiding the risk that a difficult client might later refuse to pay up by arguing that your photographs are not up to standard. They saw them. They approved them. They pay for them.
Buy Asus portable monitor: $187.93
Buy Macbook Pro: $2,449.00
#5 Poster Boards/Heavy Card
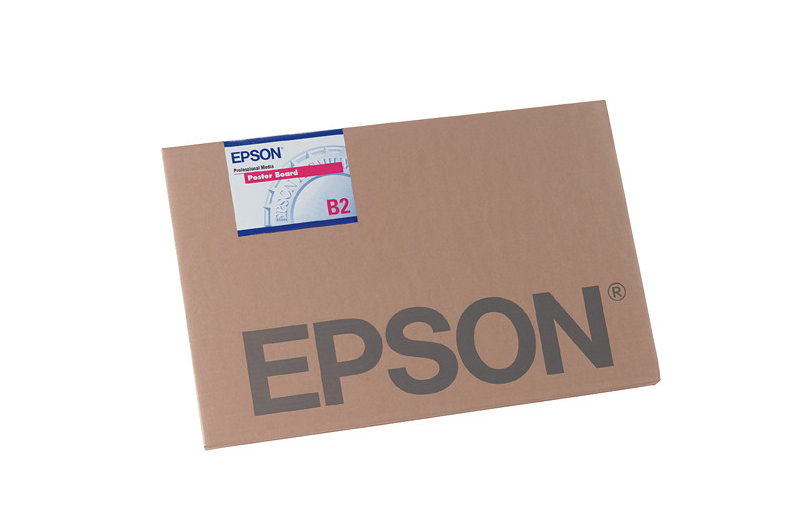
Poster boards such as these from Epson can be highly useful to have on set
More than one folding reflector would probably be overkill, but having a bunch of white poster boards to hand will allow you to reflect light in on the subject from other sides too if needed.
They can also be used as backgrounds to shoot on. For a great modern graphic look, grab a stack of brightly colored card and go wild. Use two of the same color – one lying on a desktop, another taped to the wall behind – and you’ve got a stylish monochrome background. Or choose two totally clashing colors and add hard lighting for a fully on-trend look (see our guide to contemporary food photography lighting techniques for more on this style).
Buy posterboards: $70.29
#6 Plexiglas
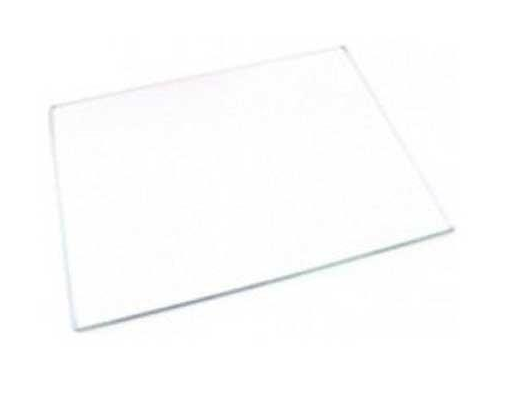
Transparent plexiglas can be an awesome creative tool for food photography
Either transparent or colored. Shoot through it. Shoot against it. Shoot on it.
Buy Plexiglas: $200.99
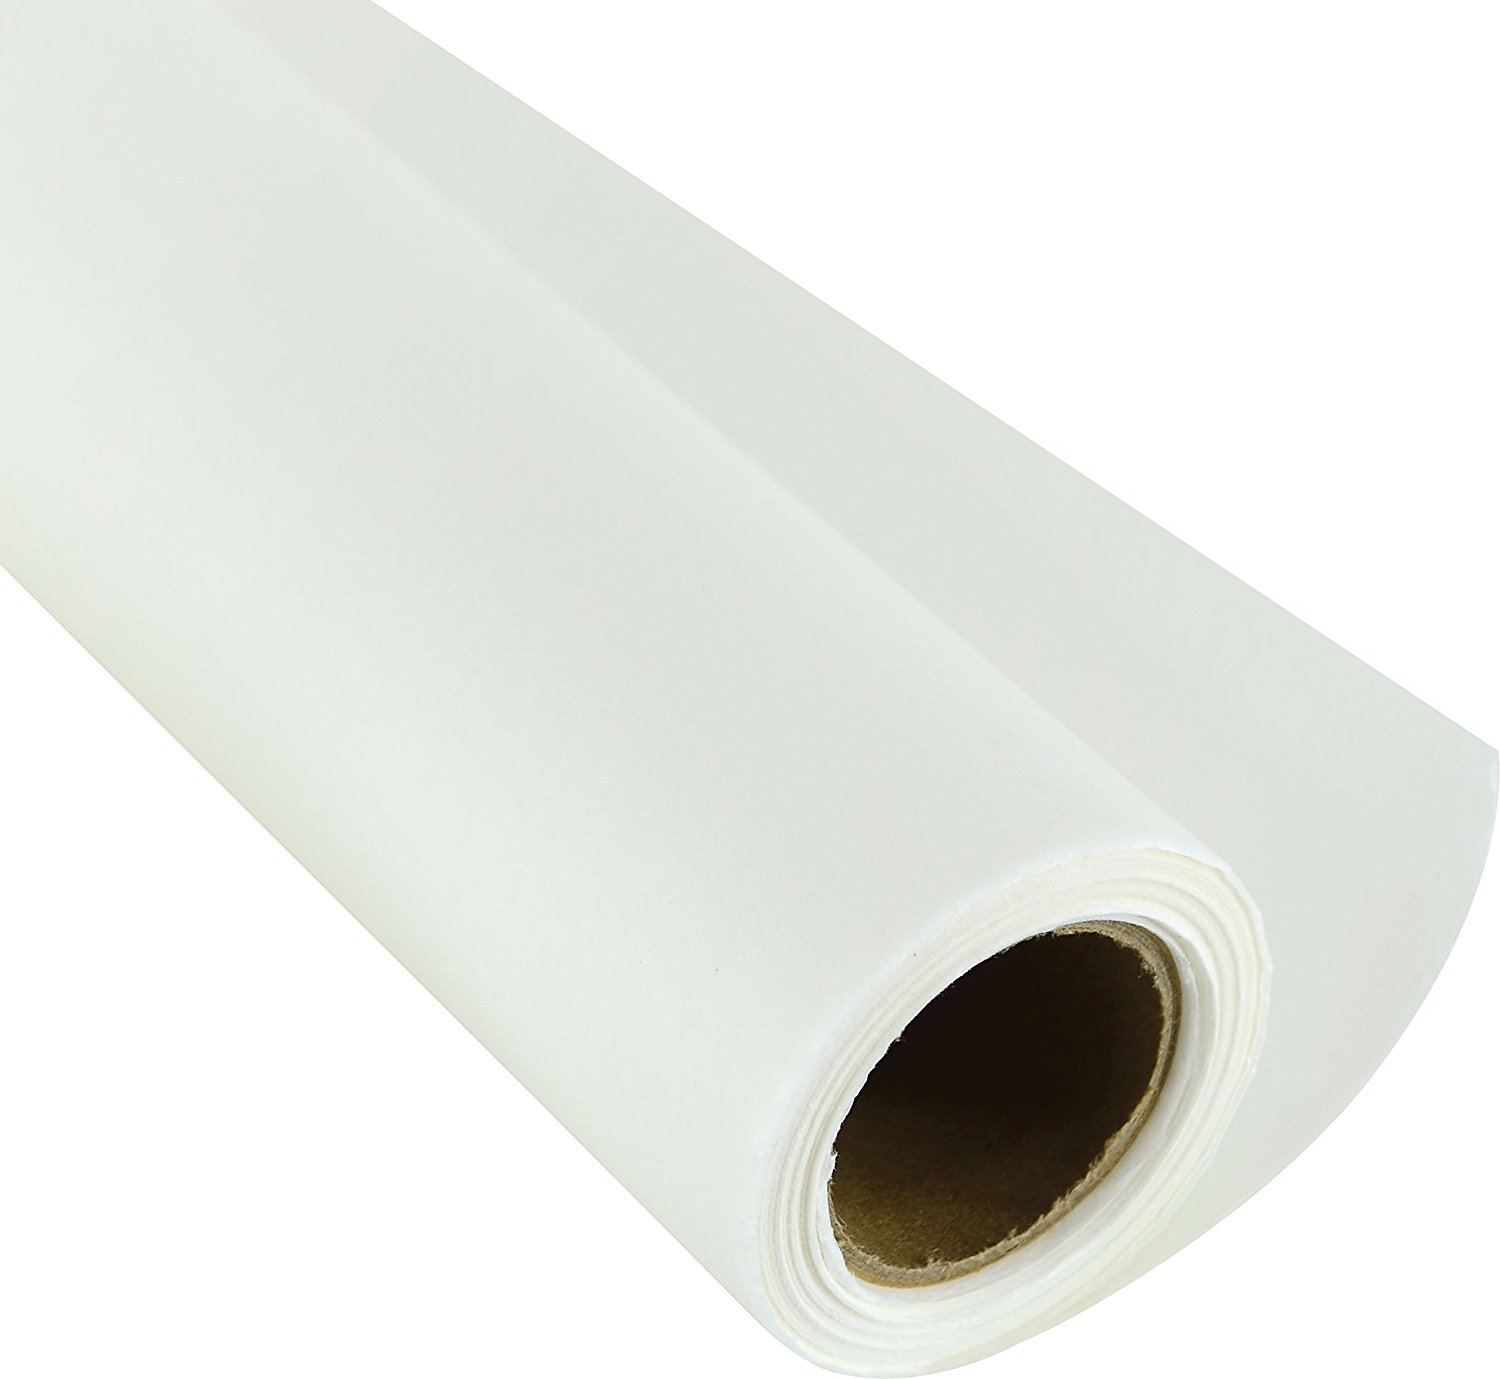
#7 Colorama Paper Backdrops

Backdrop paper is great for shooting larger food products against a plain, featureless background and comes in different sizes
If you need a nice infinity background for larger items, then colorama/backdrop paper is the way to go. Hanging up in the studio, it will smoothly and seamlessly bridge the right-angle between wall and floor.
#8 Studio Strobe Lights
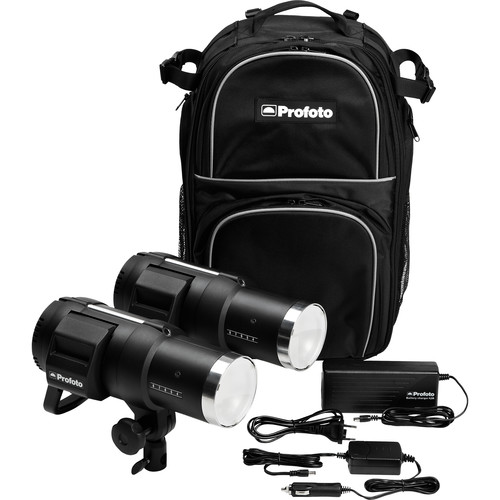
Profoto’s B1 portable studio lights are sturdy, well-designed and totally reliable. As they are battery-powered you can take them to any location you like without worrying about mains power
Lighting for food photography is a vast subject, and not one that we can realistically cover in any depth here (although we’ll no doubt add a separate guide to food photography lighting equipment at a later date).
Needless to say, for food photography, lighting is pretty much everything (well, everything but the food, obviously). Many professional food photographers work almost exclusively with natural light. But if you don’t live in a part of the world where the Sun God can be relied upon to deliver day in day out, you’ll likely want to invest in your own supply of portable sunshine.
If money is no object, we cannot recommend Profoto’s strobe lighting enough. Particularly the B1s, which are battery-powered and therefore totally portable. Few other lights are either so well-designed or as reliable.
For those on a budget, Paul C Buff‘s made-in-the-US Einsteins or AlienBees make a great alternative. Otherwise, numerous even cheaper Chinese-made options – such as those marketed under the name Godox – will also do the job pretty well: allowing even photographers with very little money an opportunity to work with studio lighting. Just don’t expect them to last indefinitely.
Buy Profoto B1 kit: $4148.00
#9 Softboxes
Even if you eventually develop a much more sophisticated lighting technique, softboxes are an essential element in any serious food photography equipment arsenal
At a minimum you’ll probably want to invest in a decent softbox or two. While you can get great lighting results even with the cheaper flash kits, it’s when it comes to adding lighting accessories that you’ll really notice the difference between the higher and lower end manufacturers: some softboxes that come with budget lights are so much hassle to set up and mount that they are destined to forever remain in their packaging, or go straight in the trash.
Higher-end softboxes frequently use proprietary mounting systems, meaning that, out-of-the-box, they are often incompatible with cheaper flash lighting kits. Sometimes there are adapters available, however, so look into this option if considering a budget lighting system but keen to avoid the headache of a cheap softbox.
#10 C-Stands
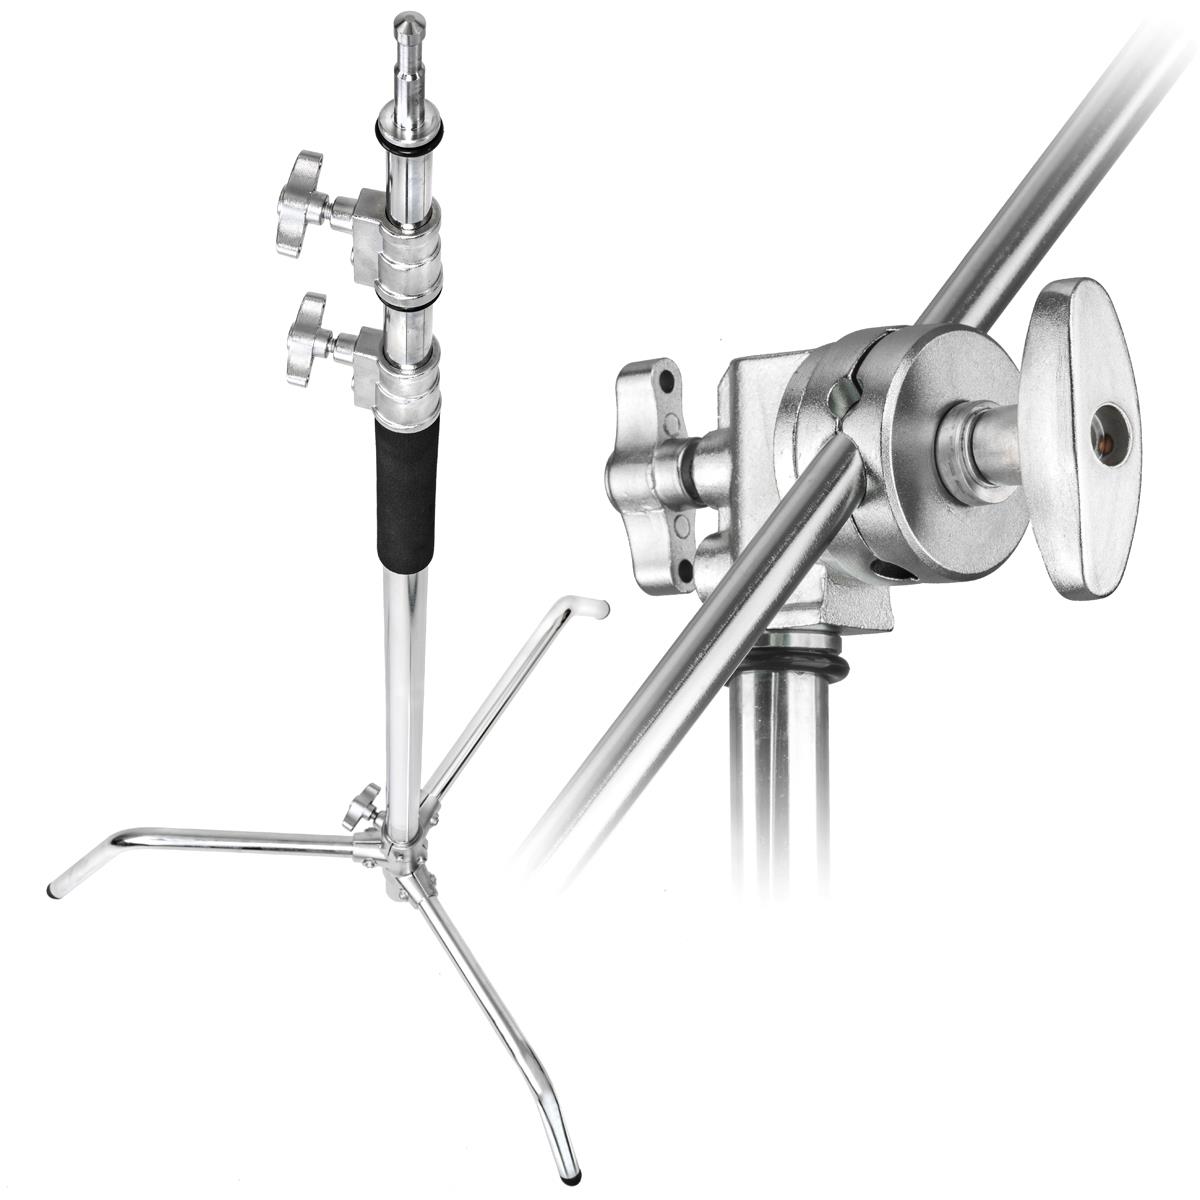
Sturdy, solid and virtually indestructible, c-stands are found in many professional food photography studios
Otherwise known as century stands, c-stands are the most stable lighting stands available (without going for massive crank-up boom stands on wheels). If you’ve remortgaged your home to invest in top of the range Profoto lighting, you will not want to precariously balance those heads on some Amazon-bought el-cheapos. Get yourself a few C-stands and your priceless lighting equipment will survive even the clumsiest of studio interns.
These are solid, heavy stands though, so the intern is likely to emerge from any cable-tripping mishap in considerably worse shape than your lights.
Even if you don’t use lights, you should in any case include some stands on your food photography equipment list for positioning flags and reflectors.
Buy: $121.96
#11 Mirrors
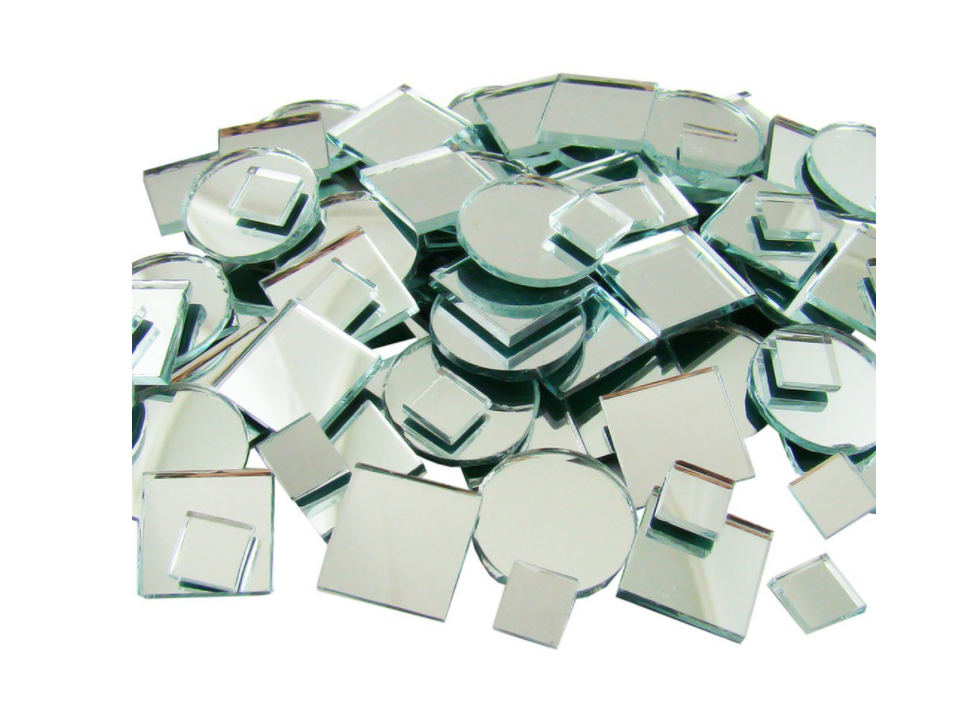
Mirrors in different shapes and sizes are often used by food photographers to reflect light onto specific areas of a dish. Some photographers likely find alternative uses for them after the shoot too
Go to a glass and mirror specialist, and get them to cut you an assortment of mirrors in various sizes: from a few inches in length to around a square foot. While arguably many professional food photographers are quite vain, these mirrors have an entirely different use: position them around a food photography setup to reflect daylight onto different areas as required.
Buy exceedingly small mirrors: $13.91
#12 Modeling Clay
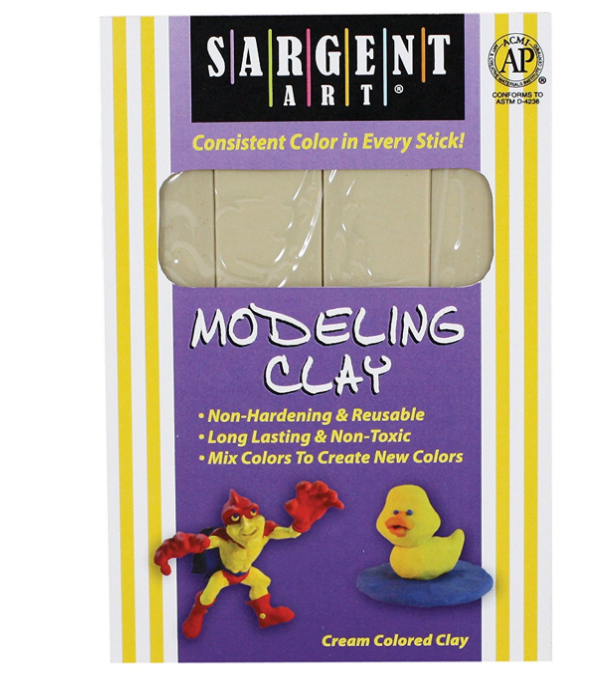
Modeling clay is used to hold small mirrors in place around food when shooting
No, not for keeping infantile clients entertained between shots. Instead you’ll need this to prop up and position your mirrors. Who says food photography equipment isn’t fun?
Buy modeling clay: $6.82
#13 Foam Reflector Board/Bounce Cards
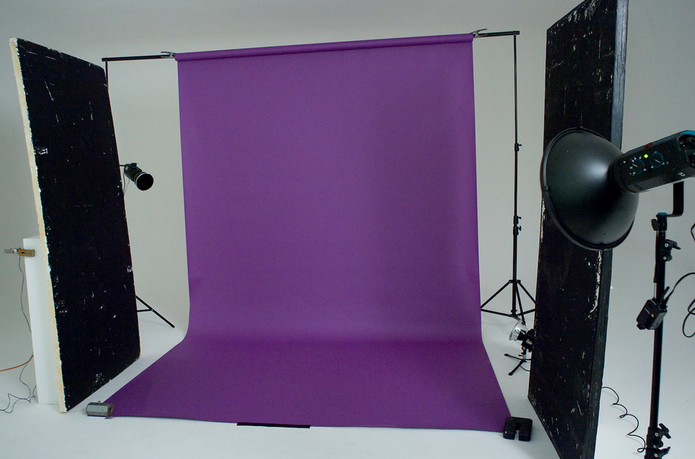
In this studio setup the photographer is using the black sides of two foam boards to stop unwanted light from bouncing back in from the studio’s white walls onto the purple coloroma. This keeps the lighting more directional
Due to their size and tendency to blow away in the wind, these are not really something you see too often on an outdoor location. They are however pretty much essential in the studio. Black on one side, white on the other, foam boards are great for reflecting large amounts of light onto a subject, or alternatively for killing reflections and flagging off unwanted light.
Larger and more rigid than foldaway reflectors, foam boards can be clamped to c-stands where they will hold their position all day. Foam boards are much easier to find from lighting rental companies than they are retail, however you can easily make your own by buying large sheets of foamcore and painting one side black with matte house paint.
Photo of foam boards in action by Tom Miles via Flickr
#14 Reflective Silver Board
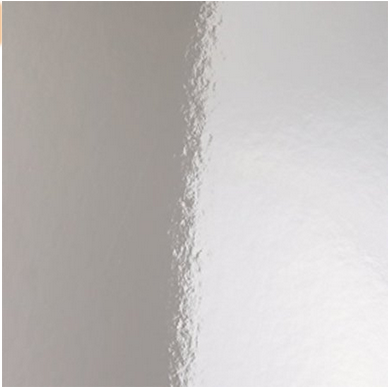
A versatile alternative to mirrors and other reflective materials for precision use of daylight
Another alternative to portable reflectors or mirrors. Good to have around when you need to blast a lot of intense light onto a setup and want the reflectors to hold their position. They can also be easily cut to any shape and size you want, for lighting tricky subjects.
#15 Light Modifiers and Diffusers
Tracing paper (or at least a non-flammable version of tracing paper) is frequently used by professional food photographers as a modifier to soften and diffuse the harsh light of electronic flash
A bare flash head has a certain look that can be pretty stylish, but if that’s all you’ve got to work with, it will become fairly limiting after only a very short time. And if you’re calling yourself a professional food photographer, you’ll probably need to develop a bit more of a lighting repertoire than this.
Creating atmospheric studio lighting means not only varying the strength of light between one light source and another, but also modifying the quality of light.
- Barn doors can be opened and closed to control where the light falls.
- Grid sets will both focus the light and restrict the area the light falls.
- A snoot will make the beam of light narrower still.
- Adding frost, tracing or spun to a flash will diffuse the light almost like a softbox. Unlike a softbox however, diffusion material can be used in combination with other modifiers and takes up less space than a softbox, allowing for shooting in smaller locations.
#16 Colored Filters/Gels
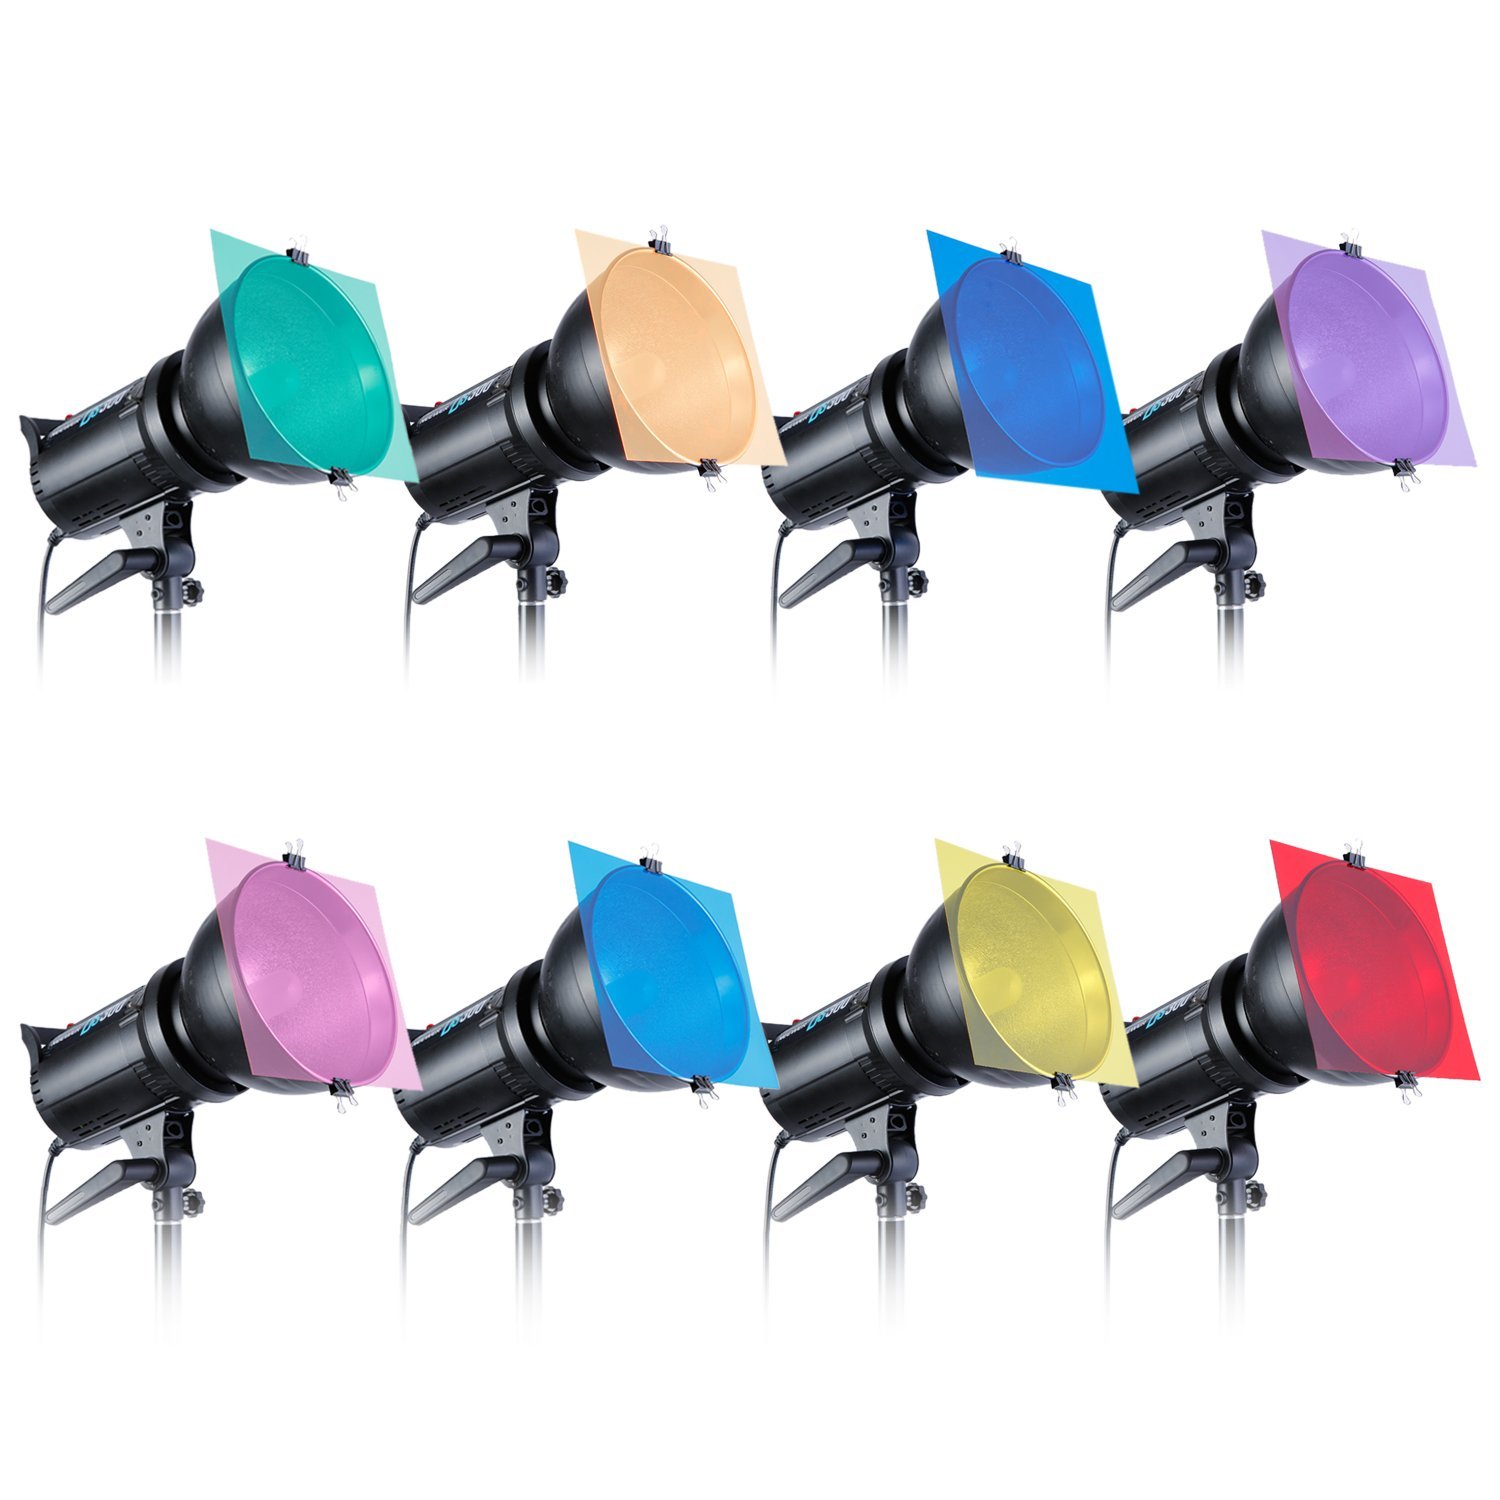
While this particular lighting setup looks like a recipe for disaster, subtle use of color gels can result in sophisticated food lighting
Semi-transparent colored lighting gels, such as those made by Rosco or Lee Filters, are great for controlling the colors in your lighting setups. Stick a quarter-tungsten gel over a flash head for a subtle touch of warmth, or go all out psychedelic with some strong saturated tones (as also seen in our guide to current food photography lighting trends).
Buy gels: $11.99
#17 White-Balance Card
Come on, you know what this is…
For anyone seriously entertaining the idea of becoming a professional food photographer, this item really shouldn’t need any explanation. Color correct food photography should be the ultimate goal of every aspiring food photographer.
#18 Black Flags

Not only for pirates: black flags can be put on stands and used to block unwanted light
Rigid, fabric-covered black panels used for blocking direct light from falling on a setup, or for absorbing light so it can’t bounce back in again.
#19 Steel Spring Clamps
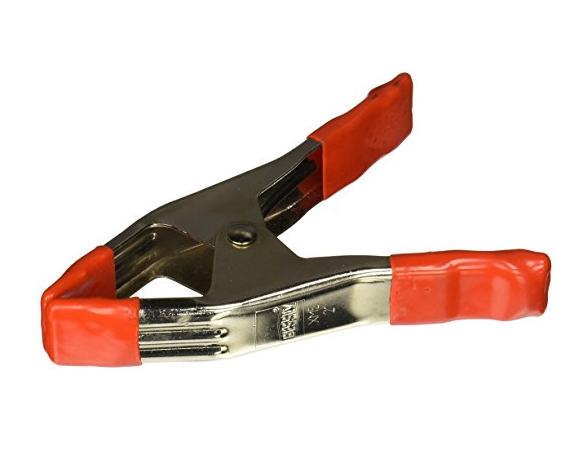
Like spring rolls, you can never have too many spring clamps
It’s always good to have a bunch of pincer clamps around on set. Useful for hanging backdrops and black light-absorbing cloths, or for attaching gels to barn-doors and other light modifiers. This is basic, almost obligatory, food photography equipment.
Buy spring clamps: $5.30
#20 Superclamps
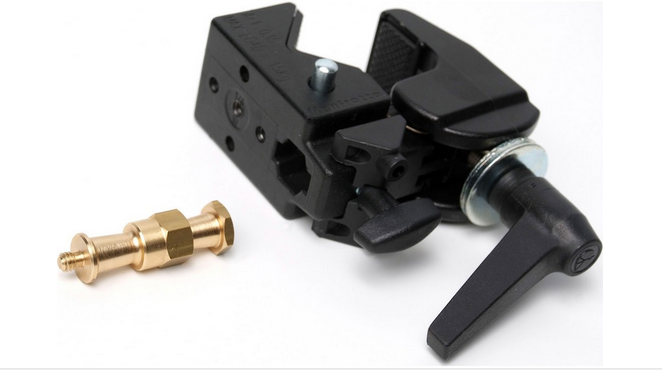
Another pro food photography essential, the supper clam. Tasty
Need to get a flash-head, reflector or black-flag into a space too small for a lighting stand? If there’s something suitable you can attach it to, you might be able to secure it in place with a superclamp or two.
#21 Magic Arms
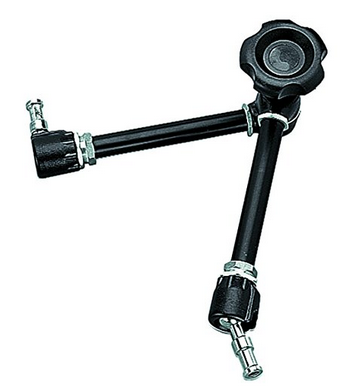
A magic arm, such as this one from Manfrotto, can help to better angle and position lights
There’s somewhere to stick a superclamp? But it doesn’t allow you to position the light at exactly the angle you need? A bendable, lockable, magic arm is the solution.
#22 Artist’s Light-Box Tracer
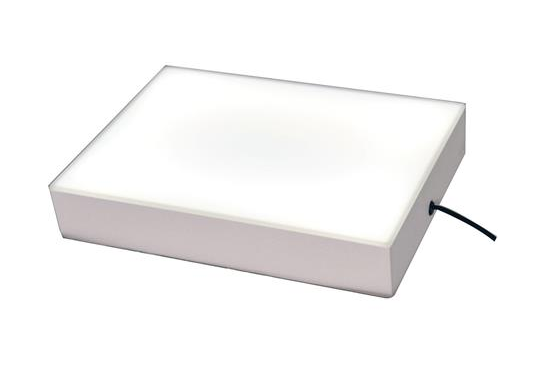
An unconventional piece of kit: the artist’s lightbox
Shooting thin and semi-transparent food back-lit against a light-box can make for a great visual effect. Try with finely sliced slivers of fruit to bring out the texture.
Buy lightbox: $41.60
#23 Tooth Picks and Wooden Skewers

Skewers can be used to better position food
Thankfully not every piece of essential food photography equipment costs an arm and a leg. As cheap as tooth picks and skewers may be, they are nonetheless indispensable for propping up and positioning small food items.
#24 Clear Fishing Line
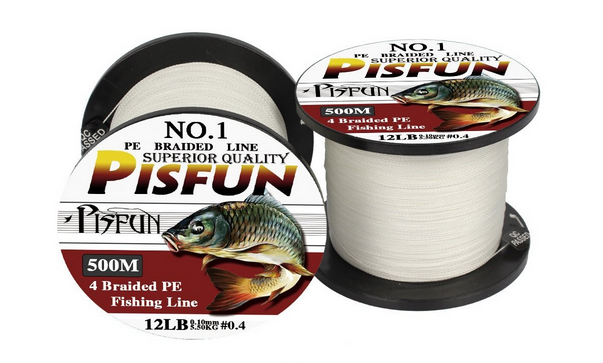
Let’s be honest now, who doesn’t enjoy a little PISFUN from time to time?
Flying donuts? String ’em up!
#25 Utility Knife/Multi-Tool
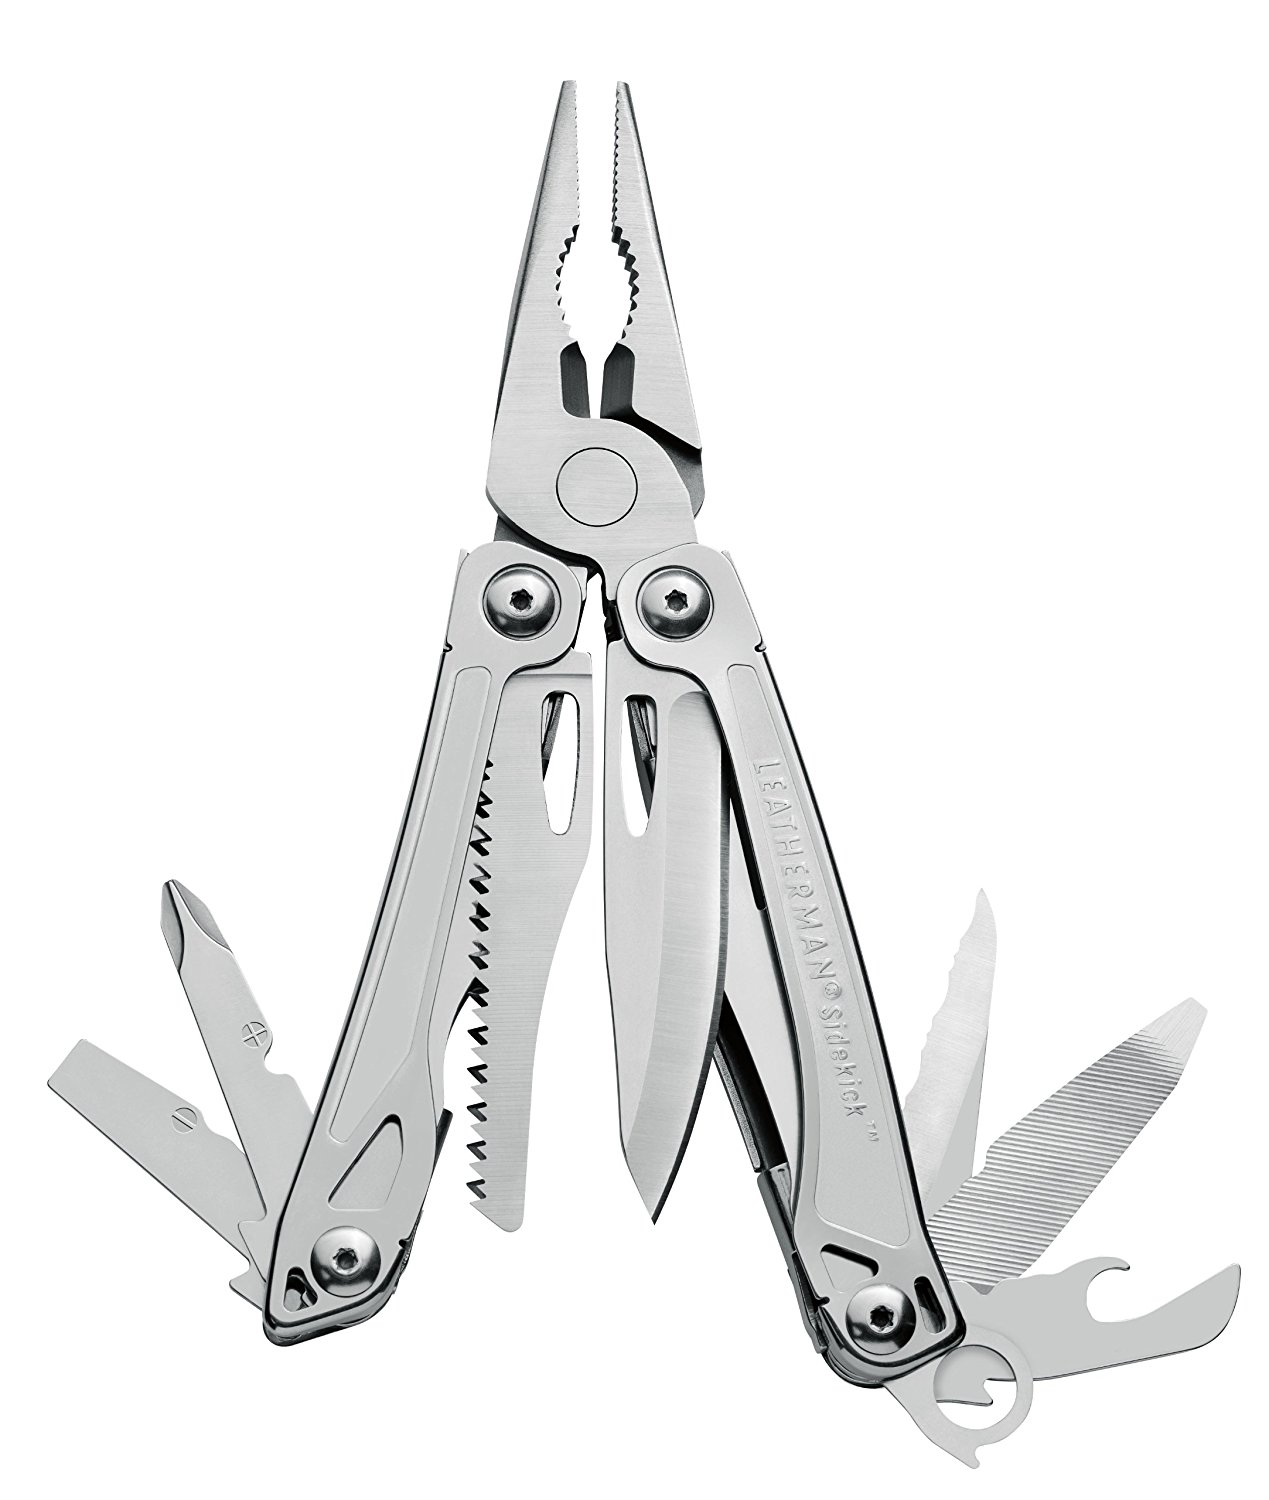
Meet Edward
No, not for dispensing with pain-in-the-ass clients, but certainly handy to have around for virtually any other use you can think of. No self-respecting professional food photographer would leave home without a decent all-in-one knife and tool combo.
#26 Step Ladder
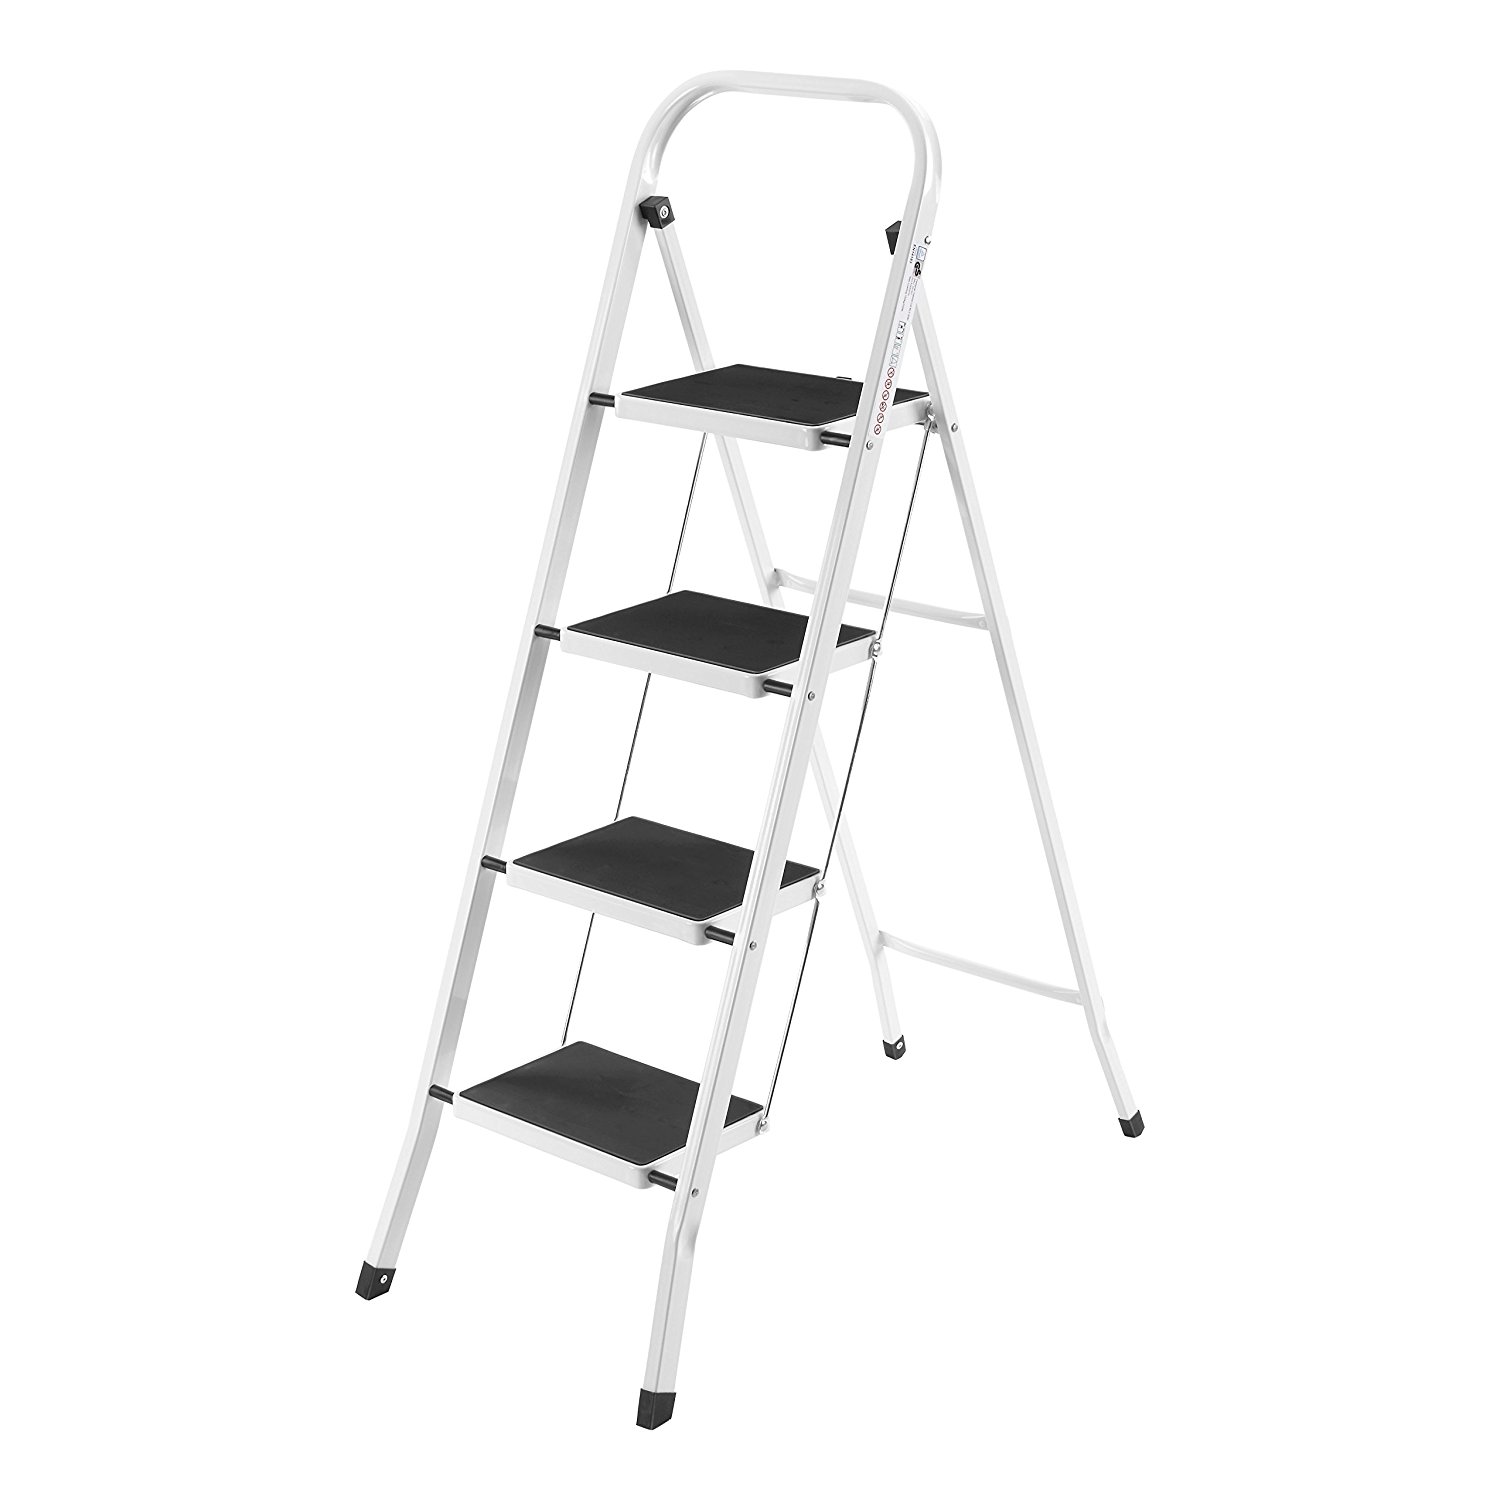
You’ve probably seen one of these before
Just purchased a super-tall tripod with an extendable central column for those extra-high overhead table shots? You’ll need a stepladder if you’re going to be able to see what you’re shooting.
Also useful for adjusting the angle of lights on the top of tall c-stands. And hiding the studio intern’s phone on top of an exposed roof beam.
Buy stepladder: $42.95
What’s on Your Food Photography Equipment List?
Are you a professional food photographer? Are there any essential items of food photography equipment that we’ve missed? What other bits of kit would you advise up and coming food photographers to add to their list? Which of our recommendations would you leave off? Share your food photography equipment tips in the comments!
Franklin T. Jockstrap
I was thinking of carrying a north-facing window around with me, as I heard it produces the best light